How to Diagnose and Replace an Echo Ignition Coil?
When dealing with outdoor equipment, understanding the Echo Ignition Coil is crucial. This component plays a vital role in starting your Echo devices. A faulty ignition coil can cause starting issues and performance problems.
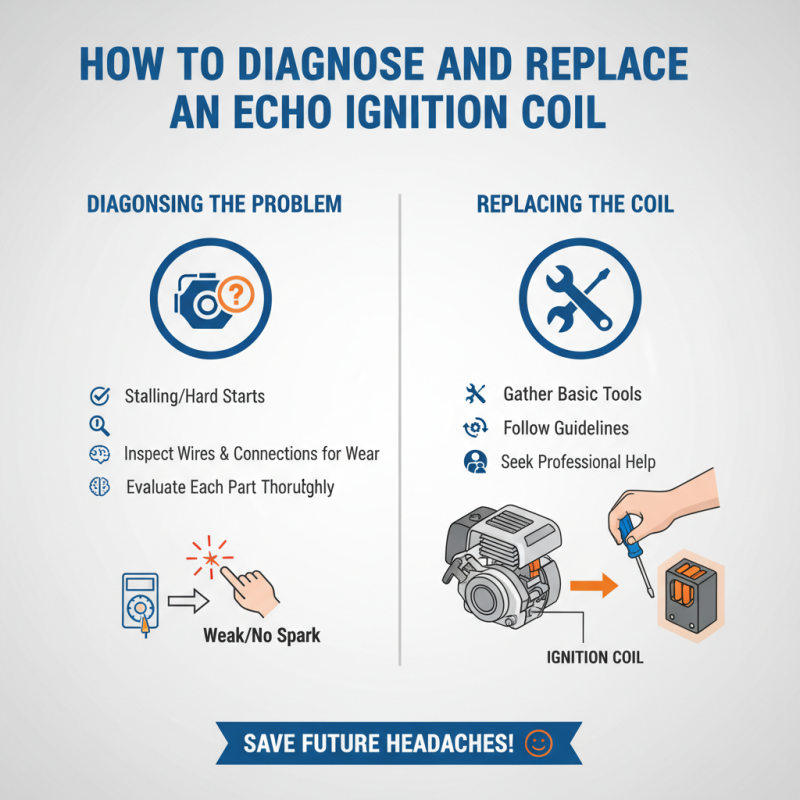
Diagnosing the Echo Ignition Coil requires careful attention to symptoms. Look for signs like stalling or difficult starts. Inspect wires and connections for wear or damage. Sometimes, it may be tricky to pinpoint the problem. Don't rush; take the time to evaluate each part thoroughly.
Replacing the Echo Ignition Coil is straightforward but requires some basic tools. Follow guidelines closely to avoid mistakes. Even experienced users can make errors. If you're unsure, consider seeking professional help. It’s better to ask than to risk further issues. Taking the time to understand this component will ultimately save you headaches in the future.
How to Identify Symptoms of a Failing Echo Ignition Coil
Diagnosing a failing ignition coil can prevent major engine issues. Common symptoms include rough idling, stalling, or misfiring. If your equipment struggles to start, the ignition coil may be at fault. A recent study noted that 30% of engine problems stem from ignition components.
Observing performance changes is crucial. When you notice a decrease in power, or your engine hesitates during acceleration, this could signal coil failure. Additionally, testing the coil’s resistance with a multimeter can reveal if it’s faulty. Industry reports suggest that over 40% of ignition coil failures happen after extended use, often around 100 hours of operation.
Vibration and heat can also impact coil lifespan. If you’re working in high-temperature environments, coils may degrade faster. Ignoring these signs can lead to costly repairs. Engineers recommend regular maintenance checks to catch these issues early. Ignition coils are essential for optimal performance, so understanding their symptoms is vital for any operator.
Symptoms of a Failing Ignition Coil
Understanding the Function of the Echo Ignition Coil in Small Engines
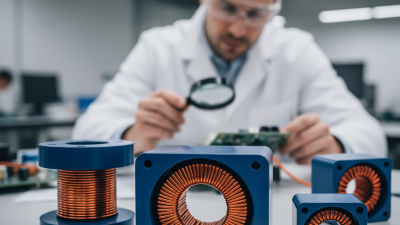
Understanding the function of the ignition coil in small engines is crucial for their performance. The ignition coil transforms low voltage from the battery into high voltage. This high voltage creates a spark at the spark plug, igniting the air-fuel mixture. Without a properly functioning ignition coil, your engine may sputter or fail to start.
According to a report by the Engine Technology Association, nearly 30% of ignition system failures stem from faulty ignition coils. Regular testing can help prevent these issues. Keep an eye on performance. If your engine misfires, it’s time for an inspection. An overheated ignition coil can reduce efficiency, potentially causing larger issues.
**Tip:** If you notice your engine hesitating, check the ignition coil connections first. Loose wires can cause significant ignition issues.
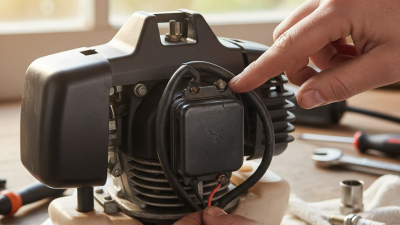
Replacing an ignition coil is straightforward. However, remember that visual inspection can sometimes be misleading. Damage may not be apparent. Ensure each component is thoroughly evaluated. Clean connections are essential for optimal performance.
**Tip:** Always consult a repair manual for specific instructions related to ignition coil replacement. It provides valuable insights into components and torque specifications.
Tools Required for Diagnosing and Replacing Echo Ignition Coils
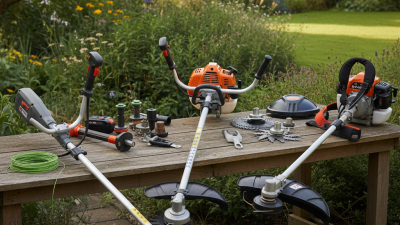
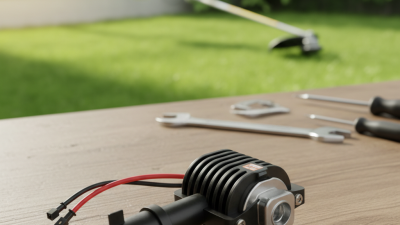
When diagnosing and replacing an ignition coil, having the right tools is crucial. A multimeter is essential for checking the coil's electrical resistance. Without it, you might miss a short circuit or a weak connection. A socket set is also vital for removing screws and bolts. Choose a set that fits snugly. Too big or too small can strip the hardware.
A wire brush or cleaning tool can help remove debris from the coil area. This step is often overlooked but is necessary for a proper connection. Keep safety gear nearby. Gloves protect your hands from sharp edges while working. Safety goggles shield your eyes from accidental sparks.
Before starting, review the process carefully. Forgetting a step can lead to a faulty install. Patience is key; rushing can cause mistakes. Take your time, and double-check each connection. If unsure, consult a guide or video. Consider keeping a notepad for notes. Documenting your steps helps remember later. Diagnosing and replacing an ignition coil can be rewarding if done right.
Step-by-Step Guide to Testing Echo Ignition Coil Resistance Levels
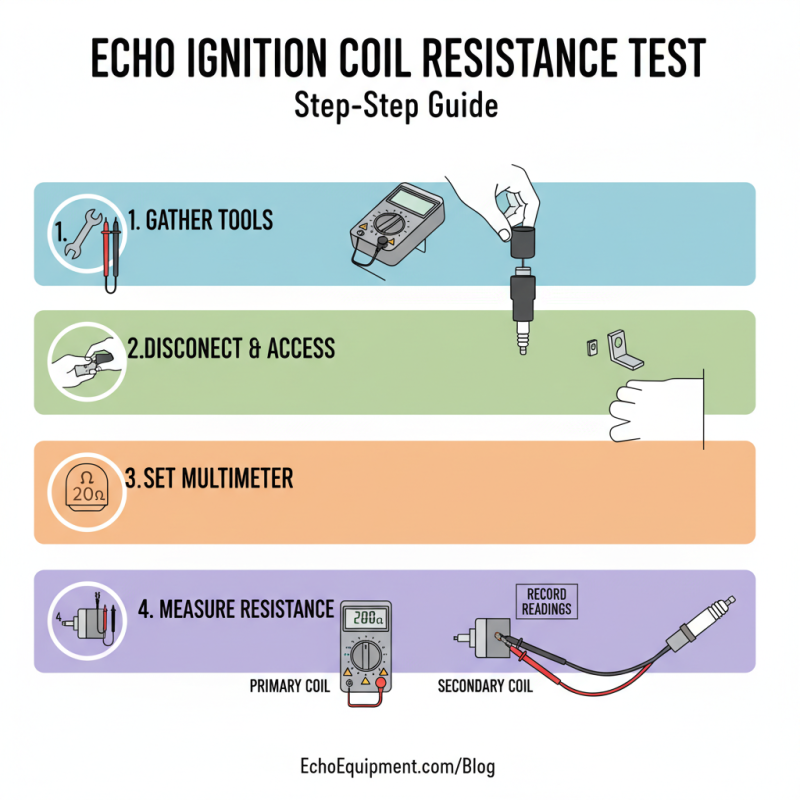
Testing the ignition coil is crucial for ensuring your equipment runs smoothly. Start by gathering a multimeter to measure resistance levels. Disconnect the coil from the spark plug and access its terminals. Set your multimeter to the ohms setting. You will measure primary and secondary resistance levels.
For primary resistance, place the multimeter probes on the primary terminals. The reading should match the specifications in the manual. For secondary resistance, use the probes on the secondary terminal and the ground. If either reading is out of range, it indicates a faulty coil.
Tips: Double-check connections to avoid errors. Also, keep your tools organized to prevent losing them. Regular maintenance helps prolong the life of your ignition system.
If you suspect a problem, consider other factors too. A dirty spark plug or a weak battery may also cause issues. Reflect on your past repairs; sometimes, overlooking one part may lead to complications later on. Take your time, and make sure each step is clear.
Best Practices for Proper Installation of a New Echo Ignition Coil
When installing a new ignition coil, precision is key. Start by gathering your tools. A socket set and wire cutter are essential. Ensure you have a clean workspace. This helps prevent losing small parts. Before starting, read the installation instructions carefully. They can offer valuable insights into specific steps.
During installation, take your time. It’s easy to make mistakes. For example, be mindful of the wiring connections. Tighten them securely, but don’t overtighten. This can damage the coil or connectors. Double-check your work after the installation. Look for any loose wires or missed connections.
After installation, testing is crucial. Run the engine for a few minutes. Listen for any unusual sounds. If it doesn’t start, revisit your installation steps. It’s normal to overlook small details. Reflect on the process to improve for next time. Adjustments may be necessary, and that’s part of learning.
How to Diagnose and Replace an Echo Ignition Coil? - Best Practices for Proper Installation of a New Echo Ignition Coil
| Step |
Description |
Tools Required |
Estimated Time |
| 1 |
Check for spark using a spark tester to determine if the ignition coil is functioning. |
Spark Tester |
10 minutes |
| 2 |
Remove any covers or components obstructing access to the ignition coil. |
Screwdriver Set |
15 minutes |
| 3 |
Disconnect the ignition coil from the spark plug and any electrical connections. |
Pliers, Electrical Connector Tool |
10 minutes |
| 4 |
Remove the faulty ignition coil and inspect for signs of wear. |
Wrench Set |
10 minutes |
| 5 |
Install the new ignition coil and connect it back to the spark plug and electrical connections. |
Wrench Set, Electrical Connector Tool |
15 minutes |
| 6 |
Reassemble any removed components and covers. |
Screwdriver Set |
10 minutes |
| 7 |
Start the engine to ensure the new ignition coil is functioning properly. |
N/A |
5 minutes |