How to Replace Stihl Bg50 Ignition Coil Easily?
Replacing the Stihl Bg50 Ignition Coil can be a straightforward task for those familiar with small engine repairs. According to Jack Thompson, a recognized expert in power tool maintenance, "Understanding the ignition system is fundamental to effective repairs." His insight emphasizes the importance of knowing how the ignition coil operates within the engine's system.
Many owners face challenges when replacing the Stihl Bg50 Ignition Coil. They often overlook minor details, like proper wiring connections or securing the coil tightly. These small mistakes can lead to poor engine performance. It’s essential to have a clear understanding of the ignition system design.
While some users can complete the task without professional help, mistakes can happen. Documenting each step and double-checking connections can save time and future headaches. With the right approach and careful attention, replacing a Stihl Bg50 Ignition Coil can enhance the tuning of your equipment and ensure longevity.
Understanding the Function of the Ignition Coil in Stihl Bg50
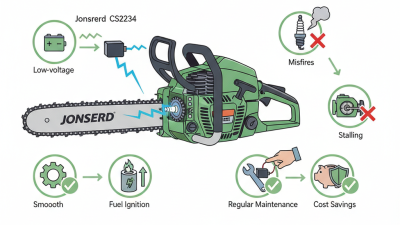
The ignition coil in the Stihl BG50 plays a vital role in the engine's operation. It transforms battery voltage into a high-voltage charge necessary for igniting the air-fuel mixture. This process is essential for starting the engine and maintaining its performance. Without a functioning ignition coil, the engine may misfire or not start at all, leading to frustrations for users.
Data from industry research suggests that ignition coils account for nearly 25% of all engine-related failures in handheld power equipment. A properly functioning ignition coil can improve fuel efficiency by as much as 15%. This statistic highlights the coil's importance in both performance and cost savings. Ensuring it is in good condition is crucial for reliable operation.
Users often overlook this component, only addressing issues when starting troubles arise. Regular inspections can prevent unexpected problems. If you notice power loss or rough idling, consider checking the ignition coil. Remember, neglecting this part can lead to more extensive repairs down the line, which can be both costly and time-consuming.
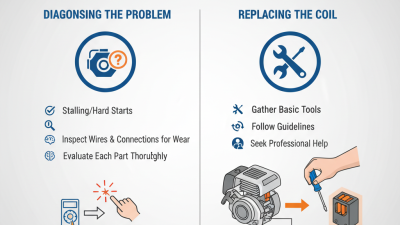
Identifying Signs of a Failing Ignition Coil in Your Stihl Bg50
Identifying the signs of a failing ignition coil in your Stihl Bg50 is crucial for maintaining performance. Common symptoms include engine misfires, starting troubles, and decreased power. A decline in fuel efficiency can also signal an issue. According to industry reports, approximately 30% of small engine failures stem from ignition problems.
Visual inspection is essential. Look for wear, cracks, or carbon build-up on the coil. These issues can lead to inconsistent spark generation, which affects combustion. Additionally, if your engine runs rough or stalls intermittently, it’s time to assess the ignition coil. Inadequate ignition timing, often a result of coil failure, may result in backfires or poor acceleration.
Expert analysis suggests regular maintenance checks every 25 to 50 hours of operation. This proactive approach can help in early detection of a failing coil. Ignoring these signs may lead to more costly repairs down the line. Listening to your engine’s performance and observing its behavior can save you from substantial headaches and expenses later. Be aware and informed, as the ignition coil is vital for optimal functionality.
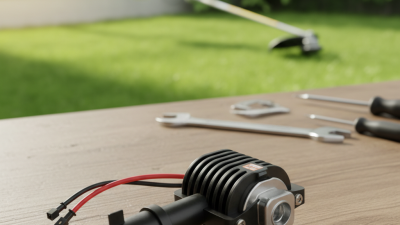
Gathering Tools and Materials for Ignition Coil Replacement
When replacing an ignition coil, gathering the right tools is essential. For this task, a screwdriver set is crucial. Make sure to include both flat-head and Phillips screwdrivers. A wrench set will also be necessary for removing components. Don’t forget to have a pair of pliers at hand. These tools can simplify the process and save time.
Before starting, ensure you have a work area that is clean. A tidy workspace can help prevent losing small parts. Having a container for screws and bolts can be very helpful. If possible, refer to a manual specific to your equipment. This can provide guidance on proper procedures and safety measures.
Tips: Always disconnect the power source before starting any repair. This can prevent accidents. It’s also wise to take pictures as you disassemble parts. This way, you can remember the correct order when reassembling. Pay attention to the condition of wires when removing the old coil. Sometimes, you may find hidden issues that need addressing. Reflect on your approach; there might be easier ways to tackle certain steps.
How to Replace Stihl Bg50 Ignition Coil Easily? - Gathering Tools and Materials for Ignition Coil Replacement
| Item |
Description |
Quantity |
Purpose |
| Ignition Coil |
The main component to replace for better engine performance. |
1 |
To ensure spark emission for ignition |
| Screwdriver |
A tool for removing screws securing the ignition coil. |
1 |
To access and replace the ignition coil |
| Wrench Set |
Tools for loosening any nuts or bolts. |
1 set |
To facilitate the removal of the ignition coil |
| Wire Cutters |
To cut any wires that may need to be disconnected. |
1 |
To ensure safe disconnection while working |
| Safety Goggles |
Protective eyewear to shield eyes from debris. |
1 |
For personal safety during the procedure |
| Manual or Guide |
Reference material for instructions on replacement. |
1 |
To guide through the replacement process |
Step-by-Step Guide to Remove the Old Ignition Coil
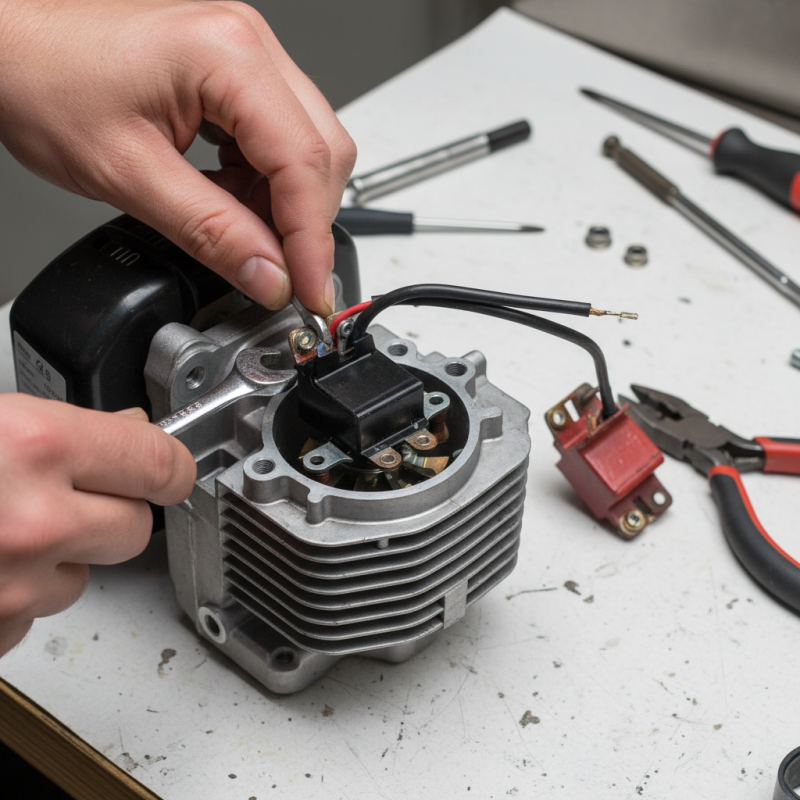
Replacing an ignition coil can feel daunting. However, with the right tools and guidance, you can successfully remove the old coil without hassle. Wear gloves to protect your hands. You’ll need a socket wrench, screwdriver, and perhaps a multimeter for testing.
Start by disconnecting the spark plug. This step is crucial to prevent any accidental sparks. Next, locate the ignition coil. It should be easy to find, typically mounted on the engine’s housing. Carefully unplug the wiring harness connected to it. Gently remove the screws securing the coil in place. Keep these screws in a safe spot to reinstall later.
Once you’ve removed the old coil, take a moment to inspect the area. Look for any damage or corrosion that may affect the new ignition coil's performance. This is a good time to clean the surface, ensuring a proper fit for the replacement. Install the new coil by reversing the removal steps. Be patient and check your work at each stage. It can be easy to overlook small details, like ensuring the screws are tightened properly.
Installing the New Ignition Coil: Tips and Best Practices
Installing a new ignition coil can feel daunting, but with careful preparation, it becomes manageable. Gather your tools: a screwdriver, pliers, and safety gloves. Before starting, ensure the engine is cool. This reduces the risk of burns. Disconnect the spark plug wire to prevent accidental starts.
When removing the old coil, take note of its positioning and wiring. An experienced technician knows to avoid yanking components. Gentle handling minimizes the risk of accidentally damaging surrounding parts. If the wires are brittle, consider replacing them as well. Carefully position the new coil in the same orientation as the old one. Tighten screws lightly; over-tightening can crack the casing.
After installation, reconnect the spark plug wire. Test the engine to ensure proper functioning. It’s not uncommon for some users to overlook a step, like securing all connections. After running the engine, check for unusual noises or vibrations. Reflect on the process; every installation teaches something new.