2026 How to Replace the Stihl Fc56 Ignition Coil Easily?
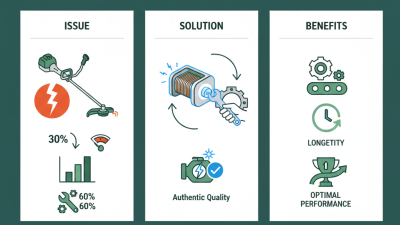
Replacing the Stihl Fc56 Ignition Coil can seem daunting. However, it is a necessary task for maintaining the performance of your trimmer. This ignition coil is crucial for generating the spark needed to start and run your engine efficiently. A malfunctioning coil may result in poor performance or failure to start.
Many users hesitate to attempt this replacement themselves. They worry about damaging their equipment or making costly mistakes. Fortunately, with proper guidance and a few tools, anyone can successfully replace the Stihl Fc56 Ignition Coil. This process does require a certain level of care and attention to detail. Mistakes can happen, and it's essential to learn from them.
In this guide, we will walk through the replacement process clearly and concisely. Each step will ensure that even those with limited mechanical experience can follow along. Trust in your ability to tackle this repair job. A properly functioning ignition coil will restore your trimmer’s power and efficiency, making the effort worthwhile.
Understanding the Stihl FC56 Ignition Coil Functionality
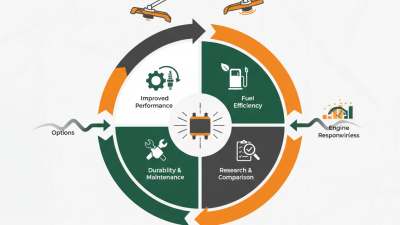
The ignition coil in a lawn tool plays a critical role. It generates the high voltage needed to ignite the fuel-air mixture inside the engine. This is essential for smooth operation. When the ignition coil fails, the engine may not start at all, or it might run poorly. Symptoms often include misfires or stalling.
Understanding its functionality helps in troubleshooting issues. The ignition coil transforms low voltage from the battery. This process requires precision. Any malfunction can lead to significant problems. Proper maintenance can prolong the life of the ignition coil, but wear and tear can occur. Checking the coil regularly is advisable.
Replacing a faulty coil might seem daunting. Many users hesitate, fearing they might cause more damage. However, with careful handling, it can be done efficiently. Take your time and follow the steps. Remember to disconnect the battery first. This simple precaution can prevent shocks or other issues. Mistakes can happen, and remaking connections may be necessary. Each step requires patience and attention.
Necessary Tools and Materials for Replacing the Ignition Coil
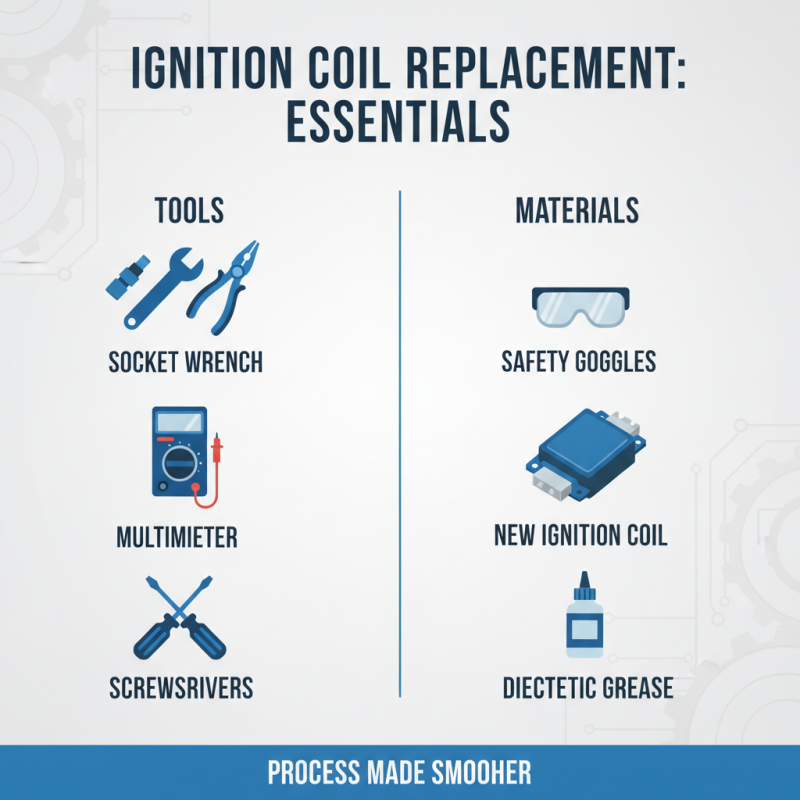
Replacing an ignition coil can seem daunting, but having the right tools and materials makes the process smoother. You will need a few essential tools: a socket wrench, pliers, and a multimeter for checking electrical connections. Additionally, a flathead screwdriver and a Phillips screwdriver can help you remove covers and fasteners easily. Safety goggles are a must to protect your eyes from debris.
Materials are critical for this job. A replacement ignition coil is obviously needed, but having dielectric grease ensures a proper fit. This grease helps improve electrical insulation and can prolong the life of the new coil. You might also want to keep a clean cloth handy to wipe down wires and connectors. Checking all connections for corrosion before installation is important. It can save frustration in the long run.
Consider that mistakes can happen during the process. Misplacing screws or improperly connecting wires might delay your work. Documenting your steps with photos can help you stay on track. Reflecting on challenges during the replacement will improve your skills. Each attempt teaches you something valuable about maintaining your equipment.
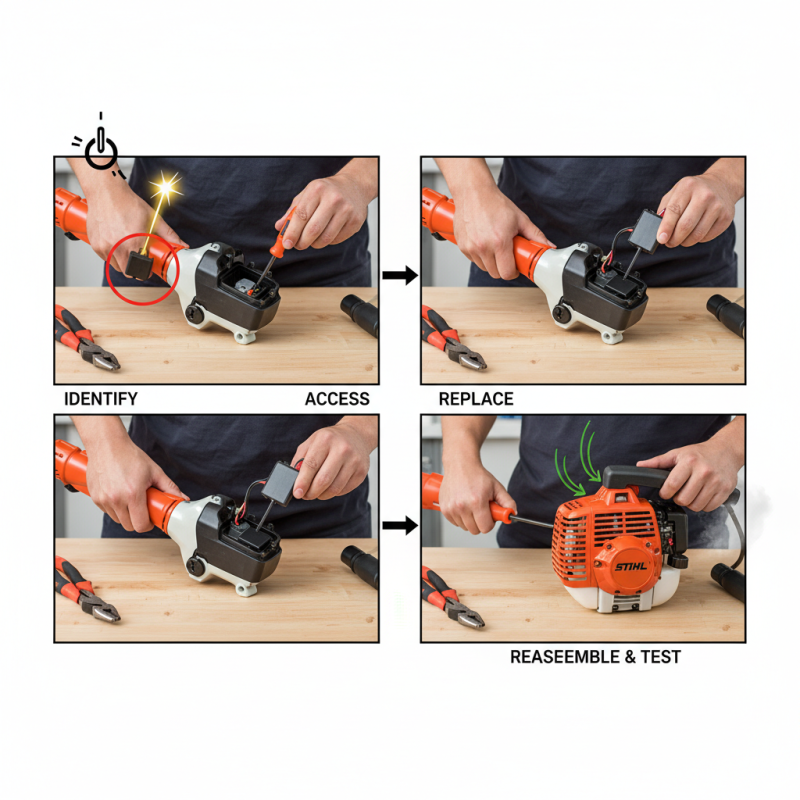
Step-by-Step Guide to Remove the Old Ignition Coil
Replacing the ignition coil in your equipment can seem daunting, but it’s a manageable task. Firstly, ensure you have the right tools ready. You’ll need a socket wrench, a screwdriver, and possibly a multimeter for testing. According to industry reports, ignition coil issues are responsible for approximately 30% of engine start problems in small engine equipment. Understanding how to replace it can save both time and money.
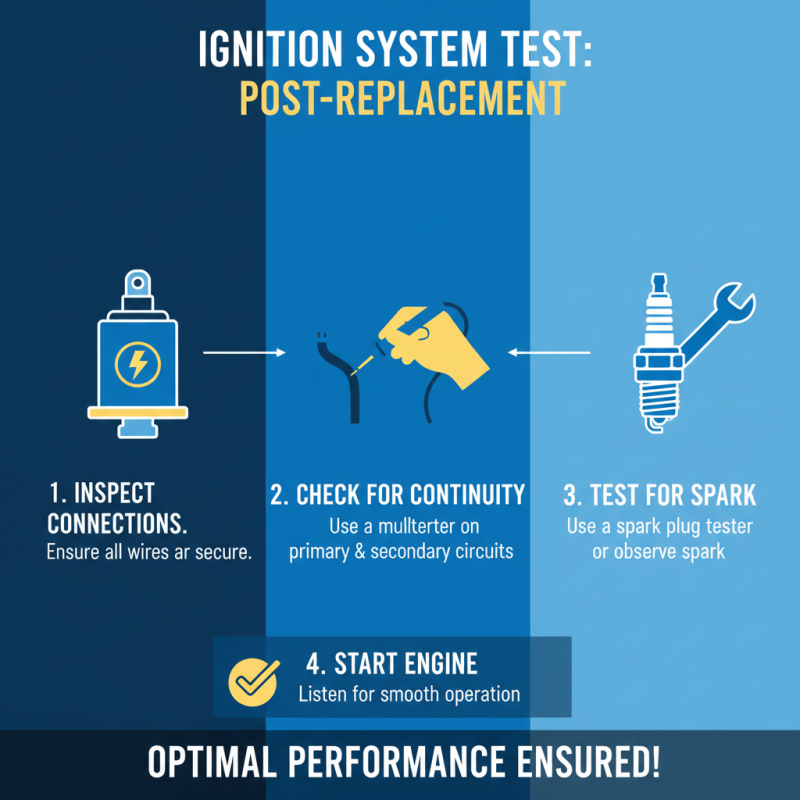
Start by safely disconnecting the spark plug and battery. Remove the old ignition coil by unscrewing the mounting bolts carefully. It’s essential to take notes or photos during this process. These details are invaluable when reassembling. Experts emphasize the importance of cleanliness. Any debris in the ignition can lead to operational failure. Thoroughly inspect the area before installing the new coil.
Once you install the new ignition coil, reconnect the battery and spark plug, ensuring everything is secure. Test the engine to confirm functionality. An improper installation can lead to further complications. The process could take longer than expected if you're inexperienced. Don’t hesitate to reach out to professionals if uncertainty arises. Taking such precautions can safeguard your equipment’s performance.
2026 How to Replace the Stihl Fc56 Ignition Coil Easily? - Step-by-Step Guide to Remove the Old Ignition Coil
| Step |
Action |
Tools Required |
Estimated Time |
| 1 |
Disconnect the spark plug. |
None |
5 minutes |
| 2 |
Remove the side cover. |
Screwdriver |
10 minutes |
| 3 |
Unscrew the ignition coil. |
Ratchet set |
5 minutes |
| 4 |
Disconnect the ignition coil wiring. |
None |
5 minutes |
| 5 |
Install the new ignition coil. |
Ratchet set |
10 minutes |
| 6 |
Reconnect the wiring. |
None |
5 minutes |
| 7 |
Reattach the side cover. |
Screwdriver |
5 minutes |
| 8 |
Reconnect the spark plug. |
None |
5 minutes |
Installing the New Ignition Coil on the Stihl FC56
Installing a new ignition coil on the Stihl FC56 can seem daunting. However, understanding the process helps increase efficiency. Research indicates that improper ignition can decrease performance by up to 30%. Hence, replacing the ignition coil becomes essential for optimal functionality.
Begin by ensuring you have the right tools: a socket set, a screwdriver, and safety gloves. First, disconnect the spark plug. This simple step prevents accidental starts during replacement. Carefully remove the old coil. Inspect it for signs of wear or damage, which might indicate a larger issue with the engine's performance.
Next, position the new ignition coil precisely. Align it with the mounting holes before securing it in place. Many maintenance reports emphasize the importance of proper alignment. Misalignment can lead to inconsistent firing and reduced power output. After attaching the coil, reconnect the spark plug securely. Finally, perform a test run. Listen for any irregularities in engine sound. Engaging with your equipment regularly can uncover ongoing issues, ensuring longevity in performance.
Ignition Coil Replacement Difficulty Ratings