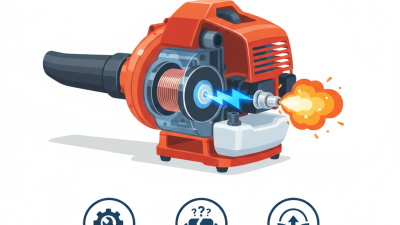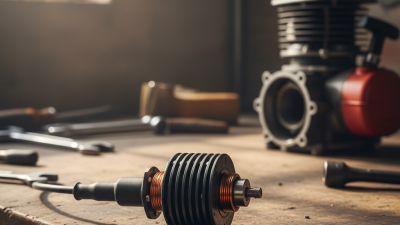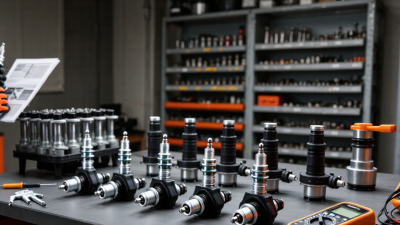
A weak or missing spark can make a Stihl BG 50 blower hard to start, but the Stihl Bg50 Ignition Coil is not always the cause. A fouled spark plug, damaged lead, loose connector, or faulty stop switch can create similar symptoms. This guide explains how to check the basics before replacing parts. Small details matter. Confirm the blower’s exact model and parts compatibility before ordering, since components and specifications can vary. Use the owner’s manual or a current parts diagram as your reference, rather than relying on appearance alone.
Work with the engine cool and the spark-plug lead disconnected. Keep fuel and vapors away from sparks, and use appropriate eye protection. Inspect the plug, wiring, coil mounting points, and air gap; follow the service information for the correct gap and torque instead of guessing. A replacement coil should sit securely, with its wires routed clear of hot or moving parts. After installation, reconnect components carefully and test the blower outdoors, away from people and loose debris. If spark remains absent, stop and recheck the diagnosis. A new coil may not solve a damaged wire or switch, and repeated disassembly can create fresh problems. This guide offers practical checks, not a substitute for qualified service when the cause remains uncertain.
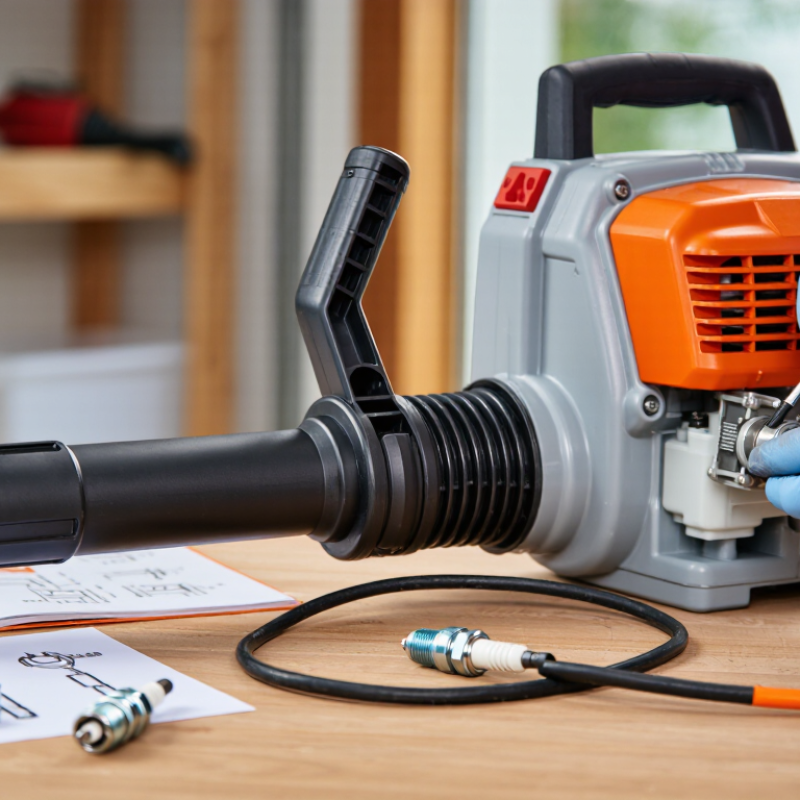
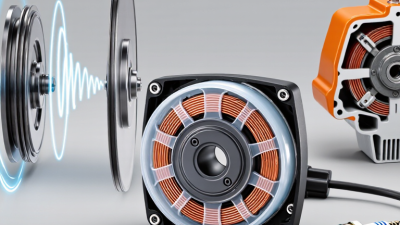
The ignition coil on a BG50 creates the spark that starts combustion, but a replacement must match the engine’s exact configuration. Check the model label and serial or production range before buying. Similar-looking coils may have different mounting points, wire lengths, or kill-switch connections. Small differences matter. A coil that fits loosely can shift during operation and disrupt the air gap between the coil and flywheel.
Tips: Compare the old coil with the replacement. Check connector shape, mounting-hole spacing, lead routing, and any part number you can read. Consult the machine’s service information for the correct specification. Do not rely on appearance alone.
During installation, keep the ignition lead clear of hot or moving parts. Set the coil-to-flywheel gap to the specified value; a thin feeler gauge helps keep the spacing even. Tighten the fasteners securely, then check that the kill switch stops the engine. If the replacement does not align without force, pause and confirm compatibility. It is easy to assume a near match will work, but that assumption can waste time. A qualified small-engine technician can verify fitment when labels are worn or parts have changed.
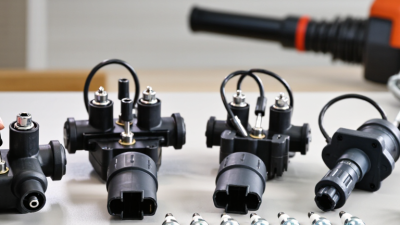
Before servicing a handheld blower’s ignition coil, let the engine cool and work outdoors or in a well-ventilated area. Disconnect the spark-plug lead and secure it away from the plug. Keep fuel, cigarettes, and other ignition sources clear of the work area. Wear safety glasses during disassembly; remove loose clothing and gloves before any running test. NIOSH’s Criteria for a Recommended Standard: Occupational Noise Exposure sets an 85 dBA recommended limit averaged over eight hours, using a 3 dB exchange rate. A brief test can still be loud. Use hearing protection and keep bystanders back.
Gather the correct sockets, insulated hand tools, a multimeter, and an inline spark tester. Check the service manual for the coil air-gap specification; do not guess or copy a measurement from another engine. A resistance reading can help identify a fault, but it does not prove the coil works under operating conditions. This step is easy to rush. Recheck the lead routing and fasteners before testing, and stop if fuel is leaking or wiring is damaged. OSHA’s 29 CFR 1910.132 also calls for workplace PPE hazard assessment, a useful reminder to match protection to the task rather than rely on habit.
A weak ignition coil can make a BG50-style handheld blower hard to start, cause intermittent stalling, or stop the engine when it gets hot. Begin with simple checks. Confirm the fuel is fresh, the spark plug is clean, and its lead is firmly attached. A fouled plug can imitate coil failure, so replacing the coil immediately may waste time.
For a safer spark check, switch off the engine and let it cool. Keep fuel and vapors away from the test area. Use an approved inline spark tester, following its instructions; do not hold the plug or lead by hand while cranking. A steady spark suggests the coil may be working, but it does not rule out an intermittent fault. No spark calls for more checks: inspect the stop-switch wire for damaged insulation or a pinched connection, and look for loose terminals near the coil. Disconnect the spark-plug lead before inspecting components.
If the fault appears only after several minutes, test again after the engine warms, with suitable equipment. Heat-related failure can be difficult to reproduce. Check the coil’s mounting and air gap against the service manual for the exact model; guessing the gap is unreliable. A damaged plug cap or switch can mimic a bad coil. I would not call the coil faulty until these simpler causes are ruled out. Sometimes the first diagnosis is wrong.
Ignition Coil Removal and Installation
Let the engine cool completely, then disconnect the spark-plug boot and move it away from the plug. Brush debris from the housing before opening it; grit can fall into the engine. Remove the cover screws and note where each screw belongs. Work slowly. Photograph the wiring and coil position, then disconnect the small stop-switch lead. Use the correct driver to remove the coil fasteners, and lift the coil clear without pulling on its wires. Inspect the lead and connector for cracks, corrosion, or loose fit.
Set the replacement coil in its original position, leaving its fasteners slightly loose. Turn the flywheel until its magnets face the coil legs. Place a clean, nonmagnetic spacer of the specified thickness between them; check the service information for the exact air gap. Do not guess. Let the magnets draw the coil against the spacer, tighten the fasteners evenly, then remove the spacer and turn the flywheel by hand to check for rubbing. Reconnect the stop-switch lead, refit the cover, and press the boot firmly onto the spark plug. Start the engine only after all tools are clear. If there is still no spark, inspect the plug and wiring before replacing more parts. The gap can be easy to misjudge. Recheck it.
| Step | Task | Instructions and Checks | Tools or Parts |
|---|---|---|---|
| 1 | Prepare the machine | Switch the engine off and let it cool completely. Work in a well-ventilated area away from fuel vapors and ignition sources. | Protective gloves, eye protection |
| 2 | Disable ignition | Pull the spark-plug boot off the plug and position it so it cannot accidentally reconnect. Clean debris from around the shroud before opening the housing. | Brush, clean cloth |
| 3 | Remove the engine cover | Remove the cover fasteners with a correctly fitting driver. Keep fasteners organized and lift the cover away without pulling on wires. | Correct-size screwdriver or driver |
| 4 | Locate and document the coil connections | Identify the ignition module beside the flywheel. Note the routing of the high-voltage lead and the position of the stop-switch wire before disconnecting anything. | Phone or camera for reference |
| 5 | Disconnect the coil | Detach the stop-switch wire by its connector or terminal, not by pulling on the wire itself. Remove the ignition module mounting screws and carefully lift the module clear. | Correct-size driver, small pliers if needed |
| 6 | Inspect the ignition area | Check the flywheel magnets, module mounting surfaces, wiring insulation, and plug lead for damage or contamination. Do not use a damaged or cracked module. | Inspection light, clean cloth |
| 7 | Position the replacement module | Fit a compatible replacement module in the original orientation. Start the mounting screws by hand, leaving the module loose enough to adjust. | Compatible ignition module |
| 8 | Set the air gap | Place a non-magnetic gap gauge between the flywheel magnet and module poles. A commonly used small-engine starting reference is approximately 0.3 mm (0.012 in); confirm the exact specification for the machine’s model and module. Rotate the flywheel so the magnet faces the module, allow the magnet to draw the module into position, then tighten the screws to the specified service-manual torque. | Non-magnetic gap gauge, torque driver as specified |
| 9 | Reconnect wiring | Reconnect the stop-switch wire and route the high-voltage lead as originally installed. Keep wires clear of the flywheel and other moving or hot parts. | Reference photo, if taken |
| 10 | Reassemble and test | Refit the cover and fasteners, reconnect the spark-plug boot, and start the engine outdoors using the normal starting procedure. Verify that it runs steadily and that the stop switch shuts it off. | Cover fasteners, spark-plug boot |
Service note: Confirm compatibility, air-gap requirements, and fastener torque against the service information for the exact machine version. If the engine still has no spark after replacement, inspect the spark plug, plug lead, stop-switch circuit, and flywheel before further use.
After fitting the replacement ignition coil, keep the spark plug disconnected until the housing is secure. Check that the coil wires are routed clear of the flywheel, fan, and throttle linkage. Set the coil-to-flywheel clearance to the service specification for your exact blower model; do not guess. Rotate the flywheel by hand to confirm it does not touch the coil. Reconnect the plug, then use an inline spark tester while pulling the starter. Test outdoors only. NIOSH’s Pocket Guide to Chemical Hazards notes that carbon monoxide binds to hemoglobin over 200 times more readily than oxygen, so exhaust exposure deserves serious attention.
A consistent tester flash suggests the ignition circuit is working, but it does not prove the engine will run correctly. Refit the fan housing and starter assembly, tightening screws evenly without forcing them into plastic. Reconnect the stop-switch lead and check that the switch stops the engine. Make sure the recoil cord returns freely and the housing has no trapped wires. Start the blower briefly outdoors, then inspect for rubbing, loose parts, or an unusual smell. I still recheck the wire routing; it is an easy detail to miss. If spark remains absent, stop and verify the plug, switch wiring, coil gap, and flywheel condition against the model-specific service data.
Follow the steps in order. The bars show step sequence, not electrical measurements. Set the coil air gap and check resistance only against the specifications for your exact blower model.
Before handling the ignition components, stop the engine and disconnect the spark plug lead. After installation, verify spark with an appropriate tester, reconnect the lead, and reinstall the covers with wires clear of moving parts.