Leave Your Message

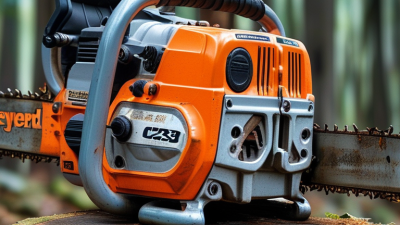
How to Replace Ignition Coil on Jonsered CS2238 Chainsaw?

The Ignition Coil Jonsered Cs2238 Chainsaw may be small, but its job is essential: it creates the spark that starts combustion. When the saw will not start, stalls, or produces no spark, the coil is one possible cause—not a diagnosis by itself. A fouled plug, damaged lead, faulty stop switch, or incorrect test setup can produce similar symptoms. Check these items before replacing parts.

Jonsered’s operator and service documentation should guide model-specific checks, safety steps, and component handling. I cannot verify a published industry report with reliable failure-rate data for the CS2238 ignition coil, so I will not invent a statistic. I also cannot substantiate a named specialist’s quotation on this exact repair. That distinction matters: a confident-sounding quote is not evidence. Use the correct replacement specification, disconnect the spark-plug lead before servicing, and keep the ignition system clear of fuel vapors during testing.

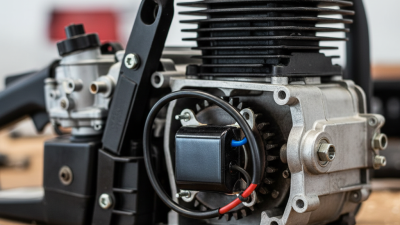
The repair itself is precise. The coil sits beside the flywheel, where a narrow air gap helps it generate spark. Too little clearance can cause contact; too much can weaken ignition. A clean workbench helps. Photograph wire routing before removal, and inspect the plug lead for cracks. Even careful repairs can miss an intermittent fault, so test the saw safely after reassembly and stop if its behavior remains inconsistent. The manual—not guesswork—should settle the final gap and test procedure.
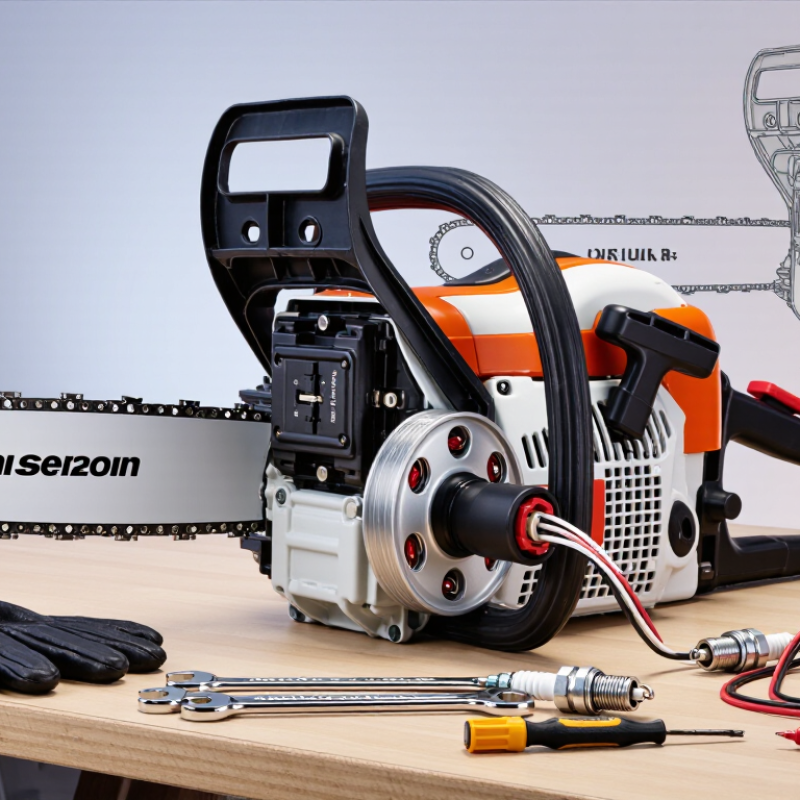
How to Replace Ignition Coil on Jonsered CS2238 Chainsaw?

Recognize Ignition Coil Failure and Verify CS2238 Compatibility

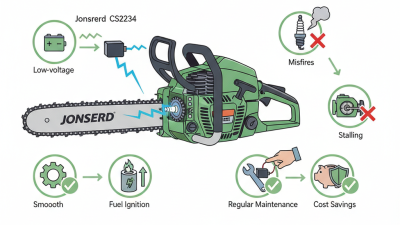
On a CS2238, a weak or failed ignition coil may cause hard starting, sudden stalling, or no spark. Sometimes the engine runs cold, then refuses to restart when warm. It is easy to blame the coil too early. A fouled spark plug, damaged stop-switch wire, or loose connection can produce similar symptoms.

Check the basics with the engine off and the spark-plug lead disconnected. Inspect the lead and connectors for cracks, corrosion, or pinched insulation. Use an approved inline spark tester; keep the plug away from spilled fuel while testing. No spark is a clue, not proof. If spark returns after isolating the stop-switch circuit, the switch wiring may be at fault instead. Follow the service manual’s safety steps.

Verify compatibility before buying a replacement. Match the saw’s full model designation and serial range against a parts diagram or service manual, then compare the listed coil part number. Check the mounting holes, wire connector, lead length, and coil shape against the removed unit. They can look nearly identical and still differ. Set the coil-to-flywheel air gap to the specified value during installation; do not guess from appearance. If the part listing is unclear, confirm the number with a qualified repair shop before ordering.
Prepare the Chainsaw, Replacement Coil, and Required Tools

Before replacing the ignition coil, let the chainsaw cool completely and place it on a stable, well-lit workbench. Engage the chain brake, then disconnect the spark plug lead so the engine cannot start accidentally. Wear safety glasses and work gloves. Brush away loose sawdust around the starter cover; grit can fall into the engine when parts are removed. Keep a small tray nearby for screws. They are easy to misplace.

Choose a replacement coil specified for the exact chainsaw model and version. Compare its mounting points and connector with the installed part before beginning. Gather a screwdriver, suitable socket or wrench, spark plug wrench, and a nonmetallic feeler gauge. Check the service instructions for the required coil-to-flywheel clearance. Do not guess this measurement. A paper card may seem convenient, but its thickness can vary. Take a clear photo of the wiring and fastener positions before removal, and label any similar-looking screws. One detail worth checking twice: damaged insulation or a loose connector can resemble a failed coil. Preparation is not glamorous, but it can prevent a second teardown.

Remove the Covers and Disconnect the Old Ignition Coil

Remove the bar-and-chain cover only if the machine’s design requires it; begin with the engine cool and the spark-plug cap detached. Use the correct screwdriver or socket, and place each fastener in a small tray. Lift off the top cover without tugging its edges. Dust around the ignition area can hide wire connections, so brush it away gently with a dry brush. Before moving anything, take a clear photo of the coil wiring and its route. It is a small step, but easy to forget.

Find the ignition coil beside the flywheel. Trace its thin stop-switch wire to the connector, then separate the connector by gripping its insulated body—not pulling the wire. Keep the loose lead clear of the flywheel. If the old coil has a grounding wire or connector arrangement that differs from the replacement, pause and check the service manual. NIOSH’s Chainsaw Safety guidance reports about 36,000 chainsaw-related injuries treated in U.S. emergency departments each year; careful maintenance helps, but it does not replace safe handling. Work slowly. No force.

Tips: Keep screws grouped by cover, and note which ones are different lengths. A photo helps, though it may not show a hidden clip; inspect the connector before pulling. Do not work near spilled fuel, and avoid touching the coil’s metal terminals with the plug cap connected.

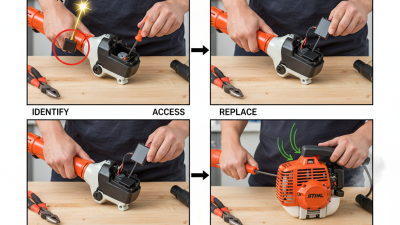
How to Replace an Ignition Coil: Remove Covers and Disconnect the Old Coil

Approximate time for each step is shown in minutes. Turn off the engine, let it cool, and disconnect the spark-plug boot before removing covers. Remove the covers to access the coil, then disconnect its electrical lead and remove its mounting screws. Times vary with tool access and machine condition; consult the equipment’s service information for model-specific instructions.

Install the New Coil and Set the Air Gap

With the engine cool, disconnect the spark-plug lead and remove the starter-side cover. Position the new ignition coil loosely over its mounting posts, then rotate the flywheel until its magnets sit opposite the coil legs. Professional small-engine service specifications commonly place ignition-coil gaps near 0.25–0.35 mm (0.010–0.014 in). Treat that as a reference range, not a confirmed setting for every CS2238; use the model’s service specification when available.

Slide a clean, nonmagnetic feeler gauge of the specified thickness between the flywheel magnets and coil legs. Let the magnets pull the coil gently toward the gauge, then tighten both mounting screws evenly. Keep the gauge flat. This step looks simple, yet a slight tilt can distort the reading; checking twice is sensible. Remove the gauge, turn the flywheel through a full rotation, and confirm it clears the coil without rubbing. Check that the ignition wire is seated and not pinched beneath the cover.

Tips: Avoid using a thick business card as a measuring tool; its thickness varies. If the flywheel touches the coil, loosen the screws and reset the gap. Recheck after tightening, since the coil can shift slightly. Don’t force the flywheel past resistance.

Reassemble the Chainsaw and Test the Ignition System

Reconnect the stop-switch wire and press each connector firmly into place. Route the wires clear of the flywheel and cooling fins. A pinched lead can interrupt ignition or wear through during vibration. Fit the coil and set its clearance using the specification in the service manual. Tighten the screws evenly, then turn the flywheel by hand to check for contact. It should spin freely. I once rushed this check and had to reopen the housing; a faint scrape is easy to miss.

Refit the starter cover and all guards before testing. Install the bar, chain, and covers securely, then move the saw outdoors, away from fuel spills and dry debris. Use an approved spark tester rather than holding a loose plug near the cylinder. Follow the saw’s starting procedure, keep a firm grip, and engage the chain brake as directed. The engine should start and idle steadily, without cutting out when the throttle is released. Test the stop switch from a safe stance. It should shut the engine off promptly. If there is no spark, rough running, or an unusual rattle, stop and recheck the wiring, coil clearance, and fasteners before using the saw.

How to Replace an Ignition Coil on a Chainsaw — Reassemble the Chainsaw and Test the Ignition System
Step Action What to Check Expected Result
1. Prepare for reassembly Switch the saw off, allow it to cool, and keep the spark-plug lead disconnected while working. Refit any covers or components removed to access the ignition coil. Parts are clean, undamaged, and positioned correctly. Wires are routed clear of the flywheel and moving parts. The ignition components are protected and the wiring cannot be pinched or rubbed.
2. Secure the ignition coil Tighten the coil fasteners evenly. If the coil-to-flywheel air gap was disturbed, set it according to the service specification for the saw. The coil is firmly mounted and does not contact the flywheel. Do not assume a universal air-gap measurement. The flywheel rotates freely without scraping or binding.
3. Reconnect the ignition wiring Reconnect the stop-switch wire and spark-plug lead. Install any insulating boots or retainers in their original positions. Connections are secure, insulation is intact, and the stop-switch wire is not trapped under a cover. The ignition circuit is connected and the stop control can operate normally.
4. Refit covers and spark plug Reinstall the air guide, starter-side cover, and other removed parts. Check the spark plug and refit it using the correct tightening specification. Fasteners are in place; cooling-air passages are unobstructed; the spark-plug lead is fully seated. The saw is reassembled without loose parts or blocked cooling airflow.
5. Check for spark Use a suitable in-line ignition spark tester, following its instructions. Keep the test area away from fuel spills, fuel vapors, and other ignition sources. The tester is connected securely, and the stop switch is in the run position during the test. A visible, regular spark indication during cranking suggests the ignition system is producing spark. No indication may require further diagnosis.
6. Test the stop switch With the spark tester still connected, operate the stop switch as directed by the tester’s instructions. The tester’s spark indication should cease when the switch is moved to stop. The stop-switch circuit interrupts ignition as intended.
7. Start and inspect the saw Reconnect the spark-plug lead, move the saw to a clear outdoor area, and start it using the normal starting procedure. Keep the guide bar and chain clear of people and objects. Listen for steady operation and check for unusual vibration, rubbing, or loose covers. Follow the operator’s manual for safe starting and chain-brake use. The engine starts and runs normally, with no abnormal contact or movement.
Safety reminder Do not create an open spark near fuel or fuel vapors. If the saw does not spark or run correctly, switch it off and inspect the wiring, stop switch, spark plug, coil installation, and related components before further use.